Thomas Carney
Lab 5 Writeup
Introduction:
We learned how to create a Graphical LCD and were able to interface with it to draw images and strings. We also learned how to use the SD card and read/wrote files to the card, displaying them on the serial output and the screen. In addition, we created an Etch-A-Sketch with basic features. Two potentiometers were used to control the x and y position of the cursor, and when the cursor hit one side of the LCD screen an LED lit up to indicate that the edge of the screen had been hit. A video of the Etch-a-Sketch can be found here: http://www.youtube.com/watch?v=6vbuDNaNDk4
Part A. Graphical LCD:
We connected our LCD to the Arduino and worked through the example code to display images. We ended up using the BitmapToLCD java program becuase we found it easier to copy and paste the C code from the terminal to the Arduino IDE.
With the smaller font, what is the longest message you can write across one line of the display? How many lines can you write?
The longest message I can write across one line of display is 14 characters. I can write 6 lines.
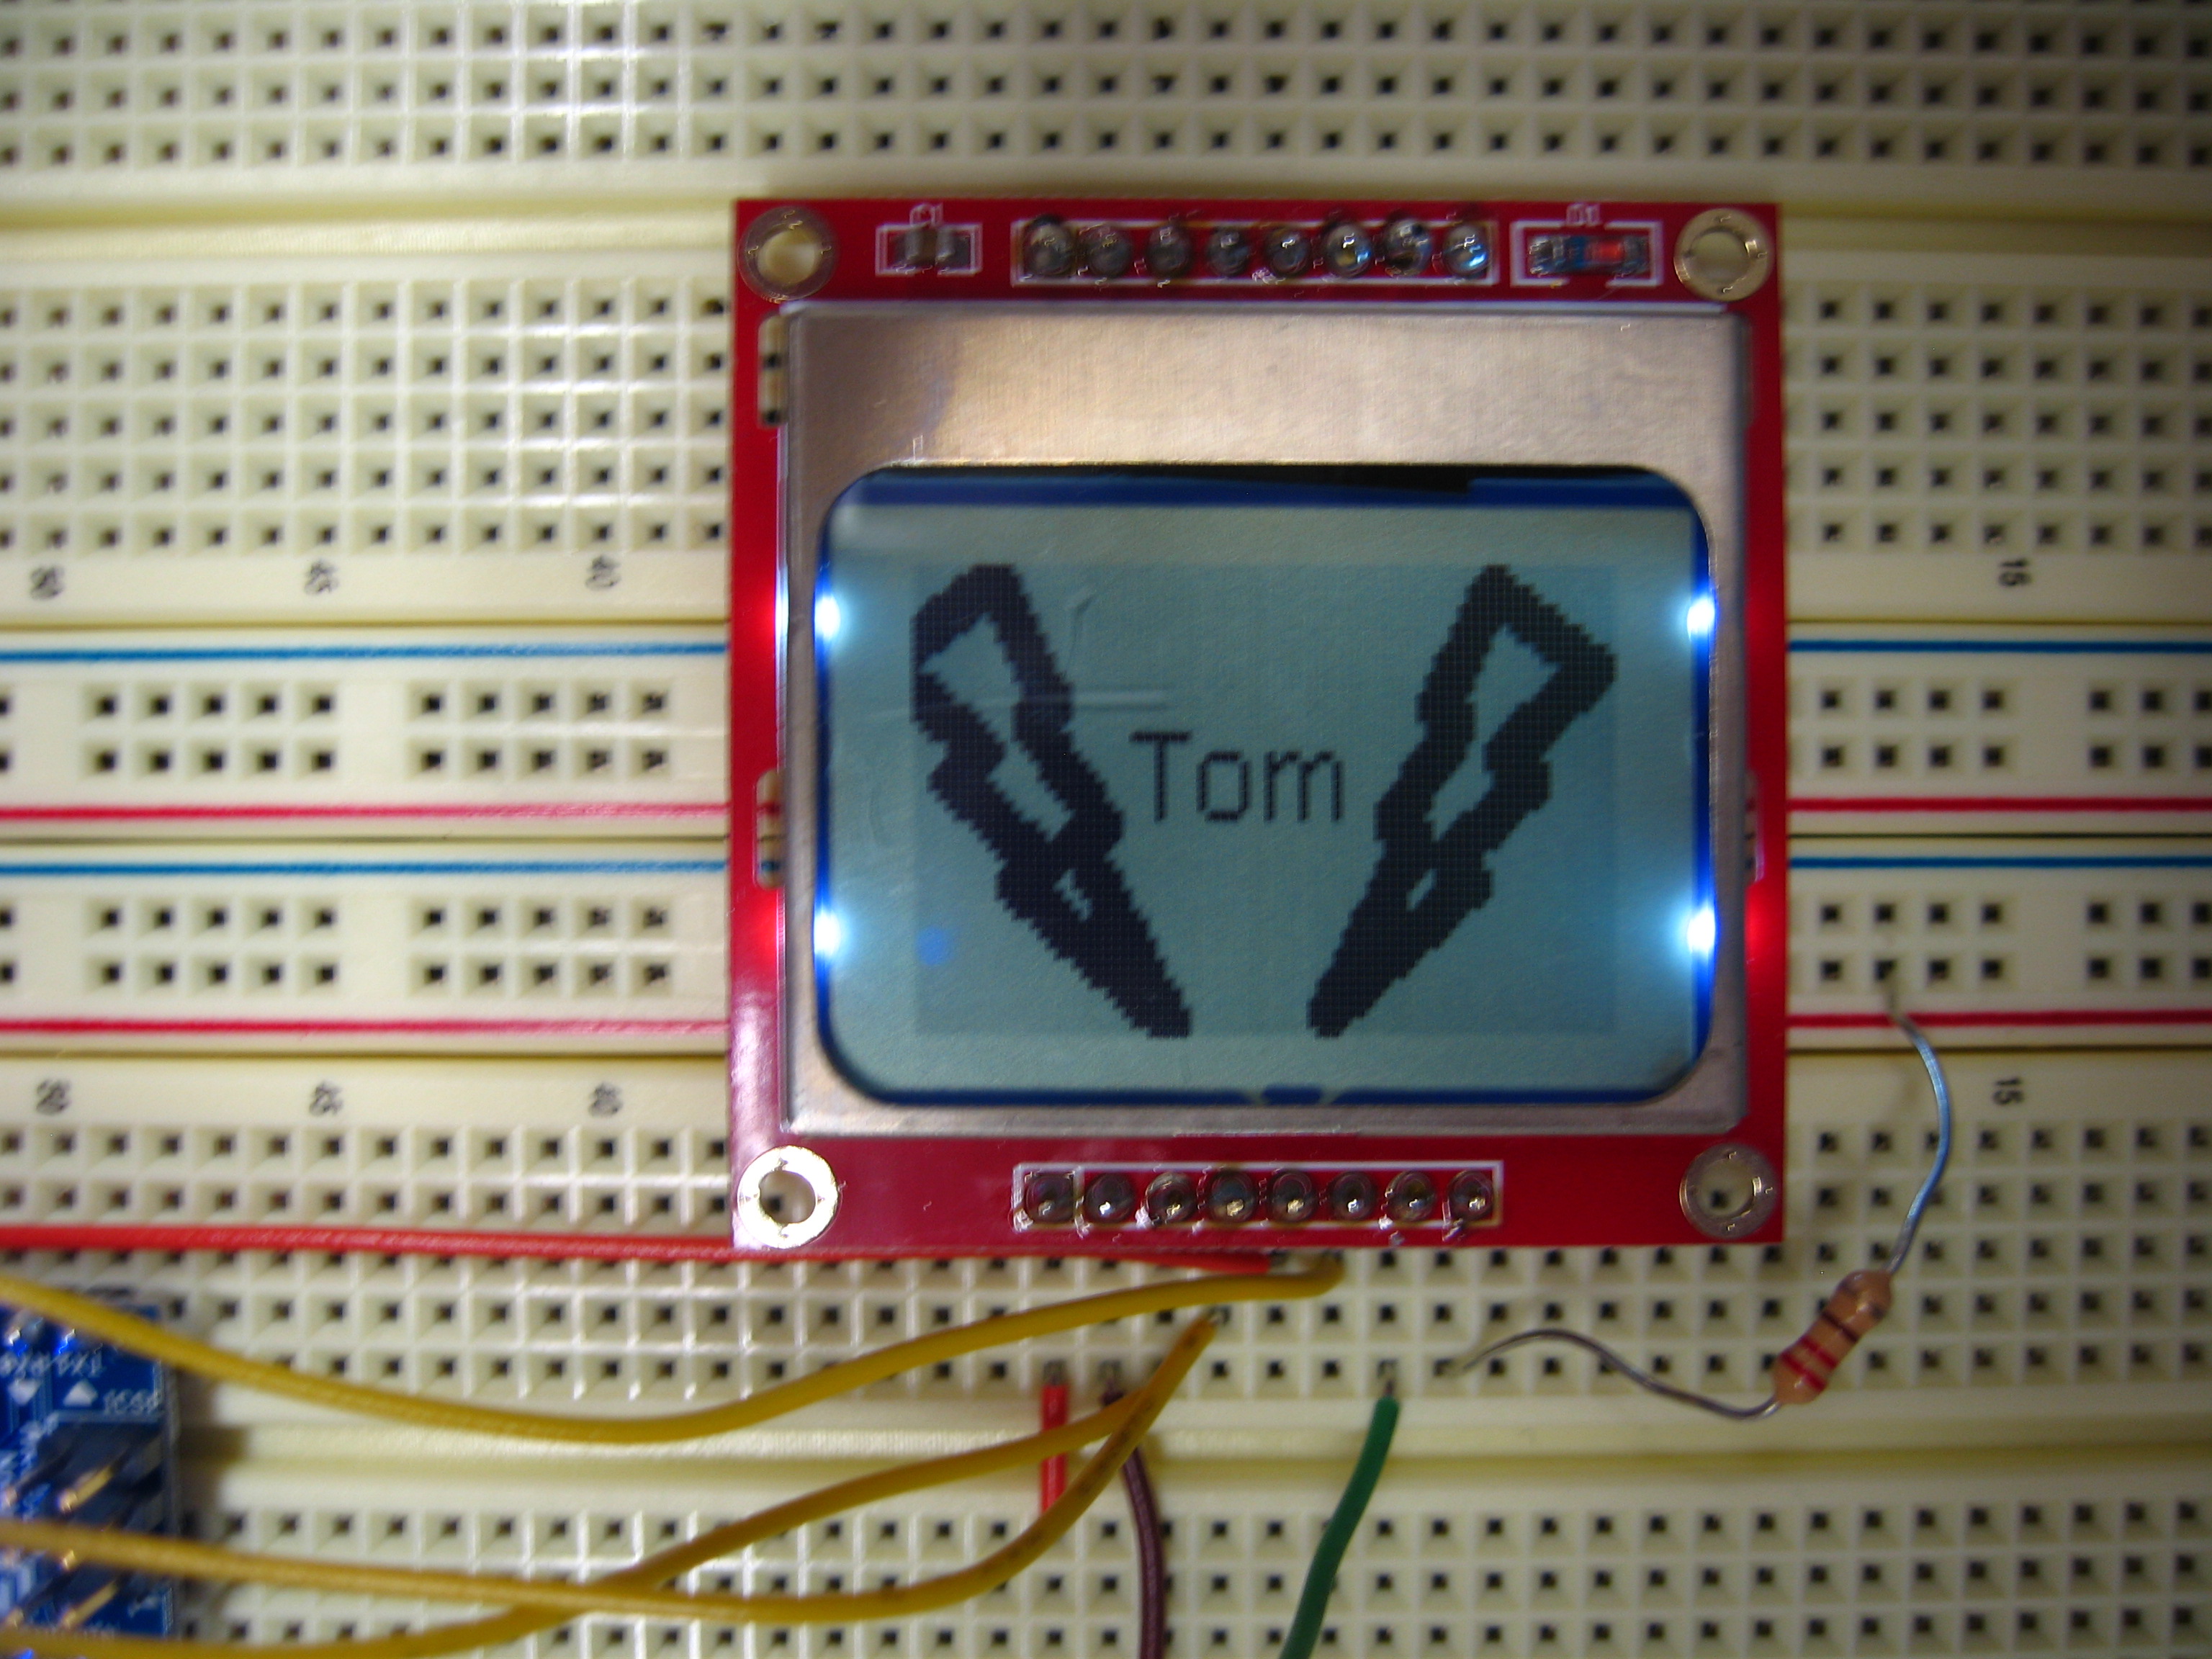
Upload a photo of your personal logo, shown on your LCD screen, to your Lab 5 page.

Part B. microSD Card:
2) Why is this? What can (or should) you do about it?
On the Arduino there is only one mosi and miso port, hence if we have multiple serial devices they must all be connected on this port. To rememdy the problem, we use chip select pins to set the device high so that it will not receive data not intended for it. When the chip select pin is low, the device can receive data from the mosi and miso inputs.
3) Include the code that you had to insert to do this in your lab writeup.
To insert a line in the text file I created a function and ran it once. Then commented it out for the second run so that the DumpFile function would just read out all the data in the file.
void writeToEndOfFile() {
File myFile = SD.open("datalog.txt", FILE_WRITE);
// if the file opened okay, write to it:
if (myFile) {
Serial.print("Writing to datalog.txt...");
myFile.println("Stop Saying That!");
// close the file:
myFile.close();
Serial.println("done.");
} else {
// if the file didn't open, print an error:
Serial.println("error opening test.txt");
}
}
3) Explain what would you do differently (or show us your code!) to insert the same text string, but at the beginning of the file (without over-writing the current contents).
We would have to create a new file. Write our new file into the file. Copy the data from the old file to the new file. Delete the old file. Rename the new file to the old file.
4) Post your code. (Outputing data from the text file to the LCD)
We found two ways to output data from the text file to the LCD. The first was to directly write the data to the LCD and the second was to assemble the characters into a string and then write the string to the LCD at the end (colored in Red).
if (dataFile) {
String str="";
while (dataFile.available()) {
char s=dataFile.read();
lcd.write(s);
//str.concat(s);
}
//int stringLength=str.length();
//char outputString[stringLength];
//str.toCharArray(outputString,stringLength);
//lcd.writeString( 0, 0,outputString,MODE_NORMAL);
dataFile.close();
5) Tell us what you had to change to make this work. (Modifying our datalogger code so that it saved the data to an SD card)
Previously, we saved 6 values directly into the EEPROM, the x,y,z acceleration and the x,y,z orientation. We created a text file and then saved these values into the file by spacing them. We know that the values for the acceleration will be 3 digits long and the orientation will only be 1 char
myFile = SD.open("datasave.txt", FILE_WRITE);
//Writing values
myFile.seek(0);
myFile.print(x_accel);
myFile.print(" ");
myFile.print(y_accel);
myFile.print(" ");
char str[4];
str[3]='\0';
for (int i=0;i<3;i++) {
char ch=myFile.read();
str[i]=ch;
}
int number=atoi(str);
myFile.print(z_accel);
myFile.print(" ");
//Orientation values
myFile.print(x_orient);
myFile.print(" ");
myFile.print(y_orient);
myFile.print(" ");
myFile.print(z_orient);
//Reading values
myFile.seek(0);
x_accel=readAccelValue();
y_accel=readAccelValue();
z_accel=readAccelValue();
x_orient=myFile.read();
myFile.read();
y_orient=myFile.read();
myFile.read();
z_orient=myFile.read();
int readAccelValue() {
return number;
myFile.read();//advance to next number
}
myFile.close();
Part C. Create an Etch-a-Sketch!
We created an Etch-A-Sketch with basic features. Two potentiometers were used to control the x and y position of the cursor. When the cursor hit one side of the LCD screen an LED lit up to indicate that the edge of the screen had been hit. The Red LED turned on when we hit the left side of the screen and the Yellow LED turned on when we hit the right side of the screen. Two buttons were installed on the Etch-a-Sketch. One to clear the screen and another to save/recall the image on the screen. A video of the Etch-a-Sketch can be found here: http://www.youtube.com/watch?v=6vbuDNaNDk4
Code:
#define NO_GRAPHICS
#define NO_BITMAP
#include <nokia_5110_lcd.h>
#include <SD.h>
//LCD PINS
#define LCD_PWR 6
#define LCD_SCE 9
#define LCD_RESET 8
#define LCD_DC 7
//SPI PINS
#define PIN_SDIN 11
#define PIN_SCLK 13
//X,Y Pins
#define xPin 1
#define yPin 2
#define ledX 5
#define ledY 6
#define LCDCOLMAX 84
#define LCDROWMAX 6
#define LCDPIXELROWMAX 48
Nokia_5110_lcd lcd(LCD_PWR, LCD_DC, LCD_SCE, LCD_RESET);
const int chipSelect = 4;
boolean savedImage=false;
volatile boolean hitSaveButtom=false;
void spi_init(){
pinMode(10, INPUT); // SS pin, should be pulled high.
pinMode(12, INPUT); // MISO
pinMode(11, OUTPUT); //MOSI
pinMode(13, OUTPUT); //SCLK
digitalWrite(10, HIGH);
SPCR = _BV(SPE) | _BV(MSTR) | _BV(SPR0);
}
void setup()
{
spi_init();
lcd.init();
lcd.clear();
pinMode(ledX,OUTPUT);
pinMode(ledY,OUTPUT);
attachInterrupt(1,clearLCD,LOW);
attachInterrupt(0,saveButton,LOW);
pinMode(10, OUTPUT);
pinMode(xPin,INPUT);
pinMode(yPin,INPUT);
Serial.begin(9600);
Serial.print("Initializing SD card...");
if (!SD.begin(chipSelect)) {
return;
}
}
/* loop */
void loop() {
int xCoord=0;
int yCoord=0;
xCoord=getDialValue(xPin,84);
yCoord=getDialValue(yPin,47);
lcd.setPixel(xCoord,yCoord,1);
lightBoundaryLEDS(xCoord,yCoord);
if(hitSaveButtom) {
Serial.println("hit");
saveLCD();
hitSaveButtom=false;
delay(5000);
}
}
void saveButton() {
hitSaveButtom=true;
}
void lightBoundaryLEDS(int &xCoord, int &yCoord) {
if(xCoord==0 || xCoord==84) {
digitalWrite(ledX,HIGH);
}
else
{
digitalWrite(ledX,LOW);
}
if(yCoord==0 || yCoord==47) {
digitalWrite(ledY,HIGH);
}
else
{
digitalWrite(ledY,LOW);
}
}
void clearLCD() {
lcd.clear();
}
void saveLCD() {
if(savedImage) {
loadImageToScreen();
savedImage=false;
}
else
{
saveImageToMemory();
savedImage=true;
}
}
void saveImageToMemory() {
Serial.println("In Loop for Save Memory");
File dataFile=SD.open("saver.txt",FILE_WRITE);
Serial.println("File open");
dataFile.seek(0);
if (dataFile) {
Serial.println("Data File open");
for(int i=0;i<LCDCOLMAX;i++) {
for (int j=0;j<LCDROWMAX;j++) {
dataFile.write(lcd.lcd_buffer[j][i]);
}
}
Serial.println("Save Image done");
}
dataFile.close();
}
void loadImageToScreen() {
Serial.println("In Loop for Load Memory");
File dataFile = SD.open("saver.txt");
dataFile.seek(0);
if (dataFile) {
for(int i=0;i<LCDCOLMAX;i++) {
for (int j=0;j<LCDROWMAX;j++) {
lcd.lcd_buffer[j][i]=dataFile.read();
}
}
}
dataFile.close();
lcd.update();
}
int getDialValue(int pin,int scale) {
double readValue=analogRead(pin);
readValue=(readValue*scale)/1023.0;
return (int)readValue;
}
Comments (0)
You don't have permission to comment on this page.